For years I had dealt with the subject of „Tiny Living“. Had looked at countless websites with different ideas for mobile living and working. I had inspected construction trailers as a home and almost bought one. Then, at a sound healing seminar, I had a colleague who had just moved into a winterproof yurt with her family. When I saw the photos, I was absolutely thrilled! My first thought was: “Crazy, the yurt has windows” and the second: “That’s it, I want to do that, too”. After that, however, it was still a while before I seriously began to explore the pros and cons to really get an idea of it of a winterproof yurt.
Is that really something for me?
At the time there was very little information available about yurts. The people I read about and who lived in yurts had “dropped out” in the best sense of the word and lived in a very simple way in some self-made yurts without windows and without any comfort. I did not want that. I wanted a place to be and a place to work that was natural, simple, functional and as ecological as possible, yes – but who says that that can’t also include beauty and a certain comfort? Then I came across the Czech company yourtent. They opened up the possibilities that I wanted. The concrete planning began.
Planing a winterproof yurt – so many questions!
With the increasingly clear plan to really build a winterproof yurt, more and more specific questions naturally arose:
- Which insulation and how much insulation?
- When is a winterproof yurt really winterproof?
- How do I heat 50 m2 yurt?
- Which stove is the right one?
- How about mice, ants, etc?
- How many windows are portable for the construction?
- How high should the side wall of the yurt be?
- Which toilet goes in the yurt?
- Which roof tarpaulin is the right one for the yurt?
- How about electricity and water?
- How does it work with the wastewater?
- Where could the yurt be in the garden?
- Do I need a building permit for the yurt?
- What should we prepare for the construction of the yurt?
- Etc.
At the same time I had to think about the interior of the yurt. Since I wanted the yurt as a place to be, as a place to work and as a seminar house, I had to consider the various aspects and take them into account in terms of design. At least four beds should be created. These should be designed in such a way that they don’t always have to be set up and taken down. It should be possible to have a small kitchen, a bathroom and a room large enough to hold small seminars and groups. At the same time, it should be cozy, personal and “spacy”. There should be space for my specialist literature and an Internet connection. A small storage room, also for “hiding” the house connections (electricity, water), would be good. This was also accompanied by many questions:
- How do I build walls inside the yurt that are stable and at the same time just as mobile as the yurt itself? (Walls cannot be attached to the yurt construction!)
- How do I design the floor plan to meet all requirements?
- How do I design the interior of the yurt so that it looks good and fits the yurt style?
- Where does the stove go in the yurt? What do I have to look out for?
- How many sockets do people need?
- How big can the windows in the yurt be?
- How do I design it so that the water connections are as close together as possible?
- What do I have to buy for the interior?
- etc.
After months of researching, asking questions and planning the floor plan with all the technical details (a looooot of work !!!) – yourtent and Company S. Sanktjohanser, which was supposed to do the interior fittings, then got the final draft.
The building of the yurt
Building permit for a winterproof yurt?
THAT’S WHAT THEY TOLD US 2019
This question has its own space here because it is asked again and again. In Germany you do not need a building permit for a winterproof yurt because it is a tent or “flying structure”. However: True to the saying: “The best cannot live in peace if the neighbor does not like it” you should carefully clarify whether your neighbors could be offended. There have been cases where the yurt had to be removed again due to neighborly displeasure. Wherever you live: you should find out if you need a permit or not before planing.
We checked in with our neighbors and they all where okay with our plan. Nevertheless, later on there was a problem with the chimney an the smoke. So here’s a little tip: plan your chimney in such a way that the usual wind direction is so that the smoke does not blow to a neighbors if possible.
NOTICE IN 2022
Each „flying structure“ that stays put for more than 3 months „transforms“ – according to law – into a building. Therefore you have to habe a Building permit in Germany.
The actual construction of the yurt in detail
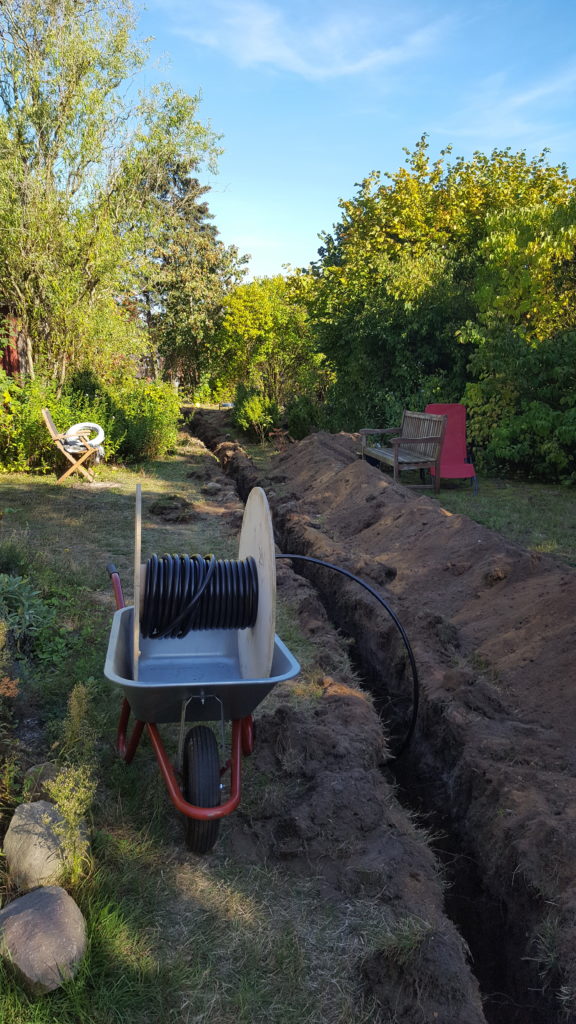
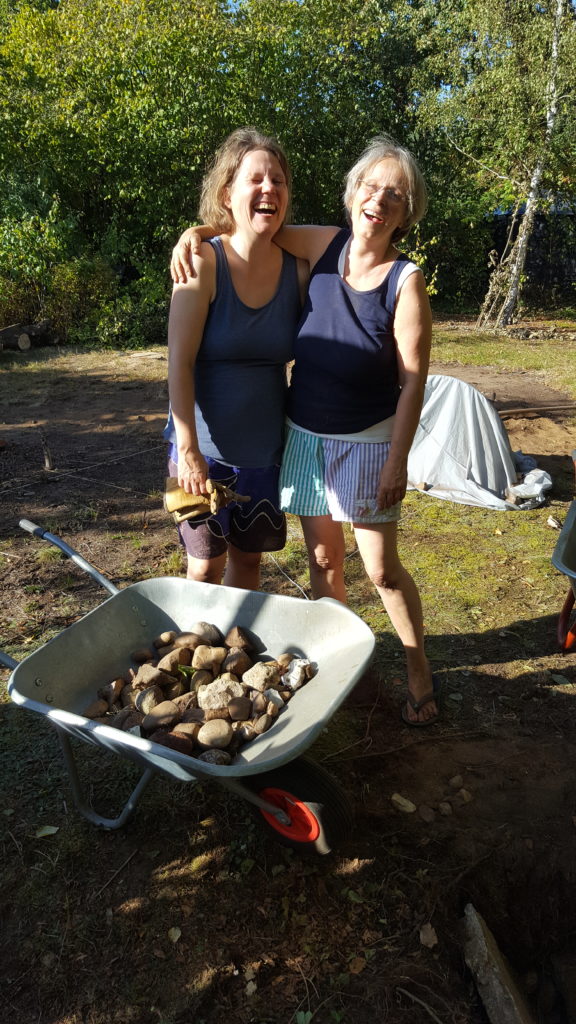
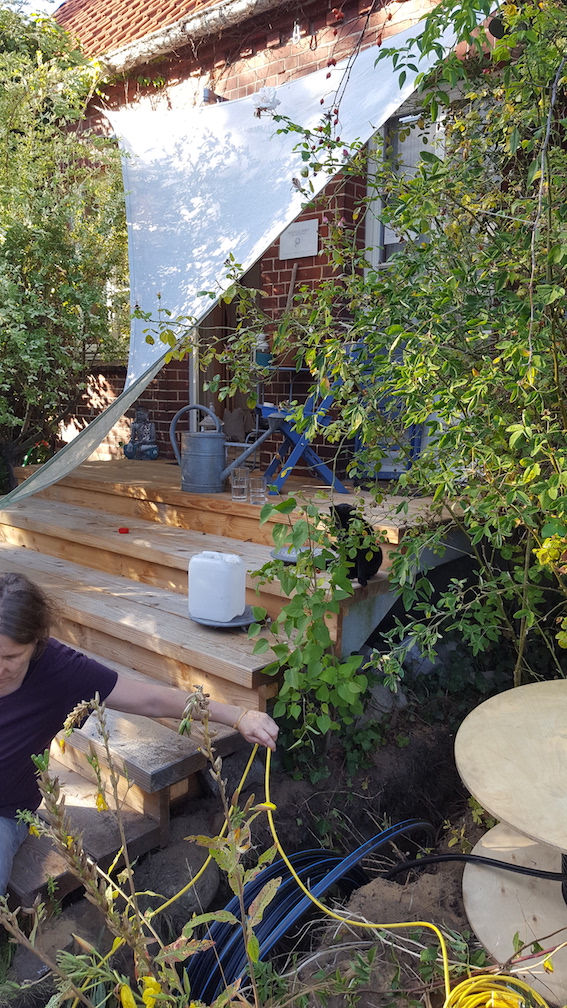
All parts for the yurt itself and also for the interior fittings were prefabricated by the respective companies. We, on the other hand, had to take care of measuring and preparing the space for the building. In plain language, that meant digging a 40 m long trench, laying in the appropriate water and power lines and a cable for the Internet and then filling it up again. (The garden was a bit devastated afterwards). Furthermore, we had to ensure that the stones (looking for the right stones was an action in itself!), on which the 12 “pieces of cake” on the floor should rest, were arranged in the right position. This required precise work on site!
Then the big day came! Everyone arrived, unpacked building materials, equipment and their luggage (all those involved in building lived with us during the construction period) and off we went….
The excitement was great, I have to say that. Does everything fit? Have I thought of everything? Are the measurements all correct?
Preparation for the ground
It started with mounting brackets in the foundation stones, which were concentrically distributed in 2 circles, and in the center stone. These would later carry the 12 pieces of the floor, formed like cakepieces and made leveling the yurt floor possible. (My yurt is about 15 – 50 cm above the ground – our property is a bit sloping).
The right floor – winterproof the yurt from below
The twelve flooor-„pieces of the cake“ are made of spruce and have hollow chambers into which the hemp insulating material is filled. Then the floor made of the selected wood is applied (for me from pine wood). The yurt floor is cut round and thoroughly oiled with Auro wood oil (environmentally friendly).
Wall and windows
First the entrance door is set up. The location of the windows is based on the it regarding to the distance. The concertina gate is erected in between. Then the two inner bars that support the dome are erected. Some roof poles are inserted into the concertina grille so that the plexiglass dome can be hung. Little by little, all the poles are put on. The windows, concertina bars, the girder bars and the crown of the dome are made of larch wood.
Insulation and outer skin of the yurt
Now the first layer of felted wool is applied all around the concertina gate. The wool is very firmly felted and approx. 1.5 cm thick. Exactly the same first layer is then applied to the entire roof. On top of this, a layer of slightly loose, felted sheep’s wool of the chosen thickness (8 cm for me) is applied. The whole yurt is wrapped warm, so to speak, so that it can really be called a winterproof yurt. A vapor barrier and a “spacer” are then placed over the insulating layer to ensure that the condensation is drained away.
Finally, the outer skin of your choosen color is applied. At first it is attached around the wall and then fixed at the sides of the windows by metal rails, so that it closes well. The small “roofs” of the windows are also covered. Then an outer skin is placed on the roof and fastened around the wall with a closure. So it is possible to replace the yurt roof skin after a few years (every 7-8 years) without having to “unpack” the whole yurt.
The interior work in detail
According to the plan, we build a wood construction inside of the yurt, that is stable in itself and is not fixed to the wall of the yurt. The inner walls (3 cm thick, three-layered spruce wood panels) are stable and can be dismantled quickly and effectively if the yurt should be moved.
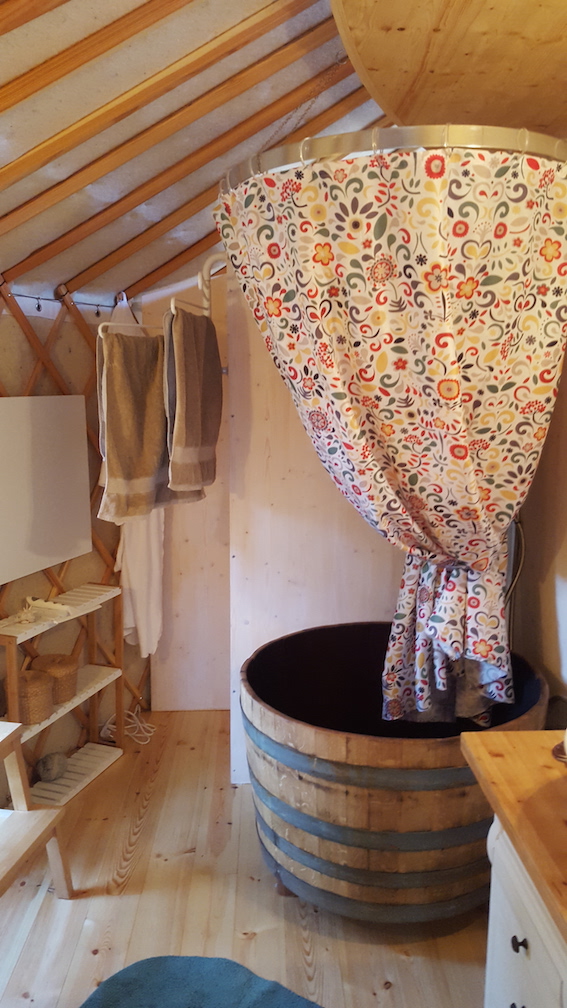
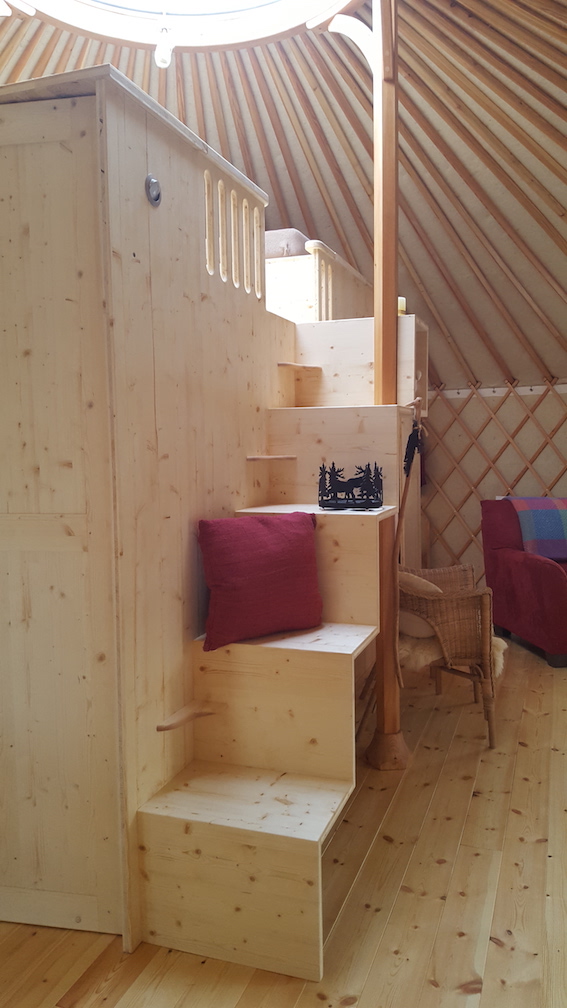
The result was a small bathroom, a small bedroom with space for a double bed, a loft bed with a width of 1.40 m and a storage room directly below. A staircase with 5 steps, which are designed so that they can also serve as a seat, leads to the loft bed. The small kitchen and the large room merge, so that a room of approx. 24 m2 + kitchen is created, which can be used for groups, seminars and living room concerts. The entrance is in the kitchen area.
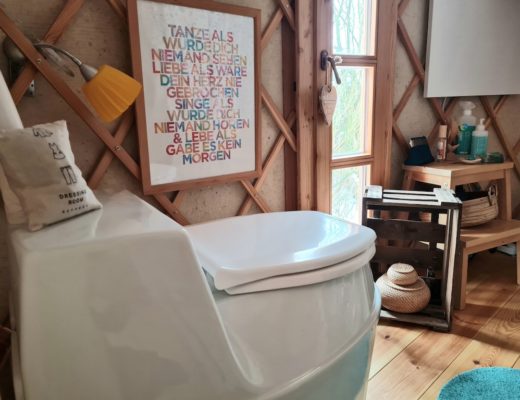
Water and electricity as well as internet access are located in the storage room under the loft bed and are fed from there into the yurt. The electricity can be partially switched off so that you can sleep well. A Biolet 15 e composting toilet serves as the toilet (a small solar system is also planned to generate electricity for the toilet). The wall passage for the exhaust pipe of the toilette was delivered by YOUR TENT. Regarding to experience with the Toilette there is a German article available)
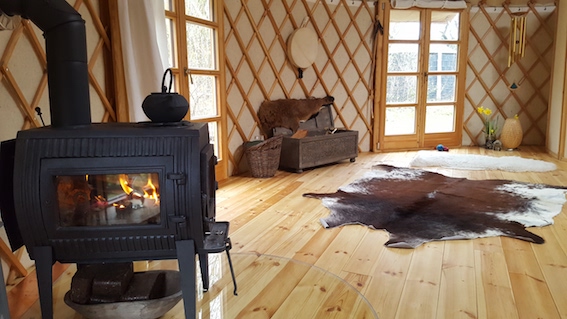
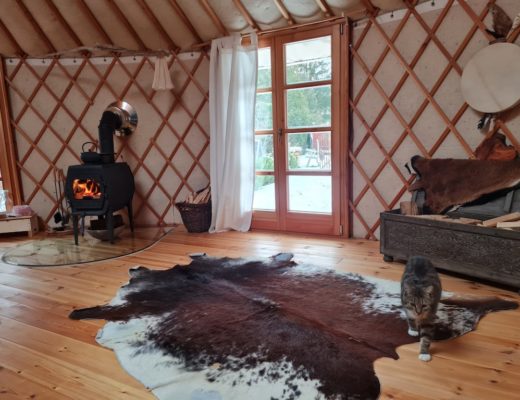
As an oven I decided for a GLOBEFIRE CHARON II which was set up by the YOUR TENT Team. The Stovepipe outside and the wall passage for the oven were delivered by YOUR TENT, everything inside concerning the oven was purchased by us.
j
GALLERY : CONSTRUCTION
j
The result: a winterproof yurt to feel good 🙂
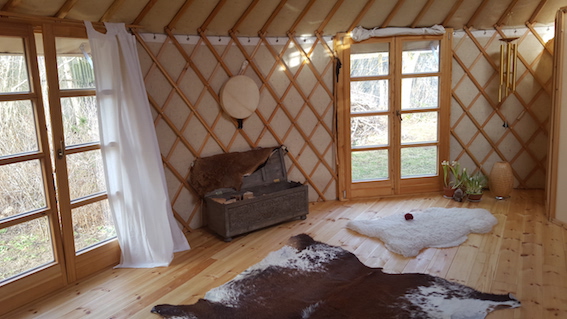
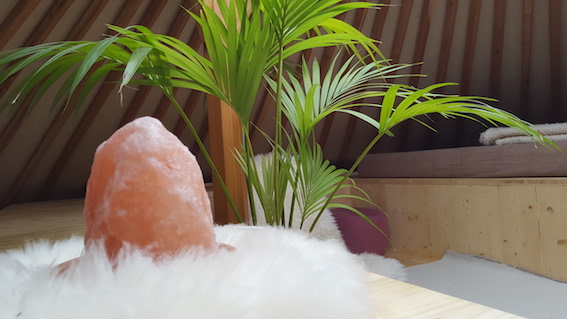
The result is impressive! The yurt is beautiful to look at, functional, cozy, practical and conveys a natural attitude towards life.
The yurt was barely erected and I had moved in with my partner in the main house (I hadn’t lived with my partner before) and the corona time began. First of all, this thwarted my seminar and group plans. So I can’t tell you how the yurt worked out in this regard.
However, since I spend a lot of time here to meditate or to work creatively and also sleep a lot in the yurt (especially in winter), I can say that it is great – even for people who want to live in it completely it is well suited. I have never before experienced such a warm and relaxing living space. I will tell you a lot about this in other posts.
My wish and my hope
It is my wish to inspire other people to deal with the yurt as a living space. I would like to serve as an example that life “completely different” does not have to lead to complete dropout. I want to encourage you that it can be simple, ecological and yet also cozy and comfortable.
My hope is that more and more people will dare to leave the old ways when it comes to living in order to try new things. To do something good for yourself and the earth’s ecosystem. To show that there is another way. To set an example for the future.
Furthermore I hope that politicians also understand that we have to go new ways in building and living and that the laws will change in the future to make this easier.
Blessings and bye for now 🙂 Annea
CONTACT YURT BUILDING
COMPANY YURT-BUILDING : yourtent.com / Alexandre Sprado, Czech Repbublic (Language: Czech, German, Englisch)
INTERIOR CONSTRUCTION : Jan Penkava / Czech Rebublic/ Phone +420 731 512 170 (Language : Czech, German)
j
GALLERY : THE FINISHED YURT
j
click here : NEWSLETTER 4 YOU
j











3 Comments
Very interesting! Beautiful home:-)
Einfach traumhaft:-)
Danke!!! Wie schön von Dir zu hören und zu lesen 🙂